How Do I Retrofit an Old Car into a Smart Electric Vehicle in 2026?
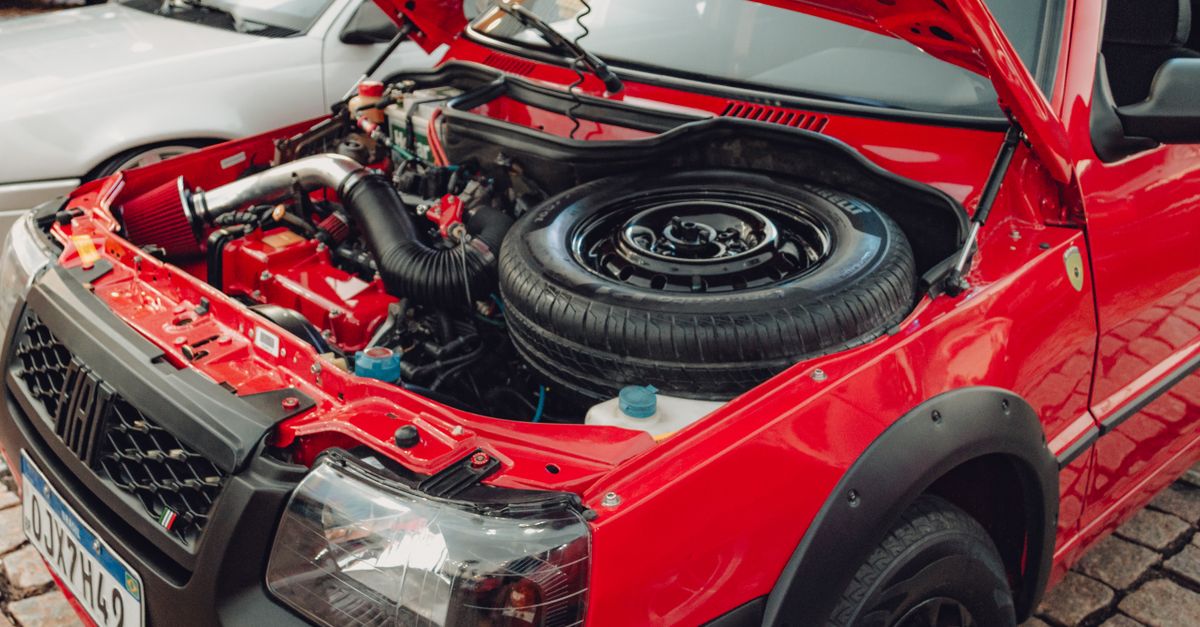
When the climate debate reaches your driveway, you face two choices: keep driving or convert. Retrofitting lets you extend a cherished car’s life while meeting modern electric standards. This guide covers every step—from chassis selection to final certification—so you can build a reliable, future‑ready EV in 2026.
Why Smart Vehicle Retrofitting Is Worth It
Retrofitting uses existing architecture and installs contemporary propulsion components, cutting upfront costs versus buying new. It also lets you customize battery size and motor layout for your specific range and performance needs.
Environmentally, conversions keep vehicles on the road longer, reducing waste. For hobbyists or small businesses, retrofits provide hands‑on experience that informs larger projects. Many kits are modular, allowing upgrades without a full rebuild.
Planning Your Conversion
Selecting the Right Vehicle
Choosing the right base car is critical; a balanced chassis reduces engineering headaches.
- Weight & size: stay under 4,000 lb to keep battery mass manageable.
- Drivetrain layout: rear‑ or front‑wheel drive offers simpler motor mounting; AWD may need extra gearboxes.
- Electrical architecture: cars with separate high‑ and low‑voltage systems are easier to isolate.
- Spare parts availability: a robust aftermarket eases sourcing bolts, cooling fans, etc.
Popular retrofits include early 2000s Honda Civics, Toyota Corollas, and Ford Focus models. They offer roomy engine bays, proven reliability, and active conversion communities.
Powertrain Options
Decide on single or dual motors, induction or permanent magnet. Each choice affects cost, efficiency, and complexity.
- Single‑motor: 60–120 kW, 250–400 Nm torque; lower cost for commuters.
- Dual‑motor (AWD): split power to axles or use a torque‑vectoring gearbox.
- Induction motors: no rare earths; higher current but robust at high temps.
- PMSM: up to 95% efficiency; uses neodymium, ideal for range‑optimized builds.
Components and Sourcing
Battery Packs
I once swapped a 48 V lead‑acid pack for a 400 V lithium‑ion module in an old sedan, raising range from 30 mi to 120 mi.
- Capacity: typical conversions use 20–60 kWh; a 40 kWh pack yields ~200 mi on most midsize cars.
- Chemistry: NMC offers high energy density; LFP gives better thermal stability.
- Thermal management: passive cooling for small kits; active fans or liquid loops needed for high‑power builds.
- Modularity: stackable modules simplify replacement and future scaling.
Motor Types
Select a motor that fits torque and speed needs. Common choices include:
- BLDC: high efficiency, simple inverter control; cost‑effective for lightweight builds.
- AC induction: durable, lower cost but higher current draw; good for high‑speed use.
- PMSM: highest efficiency, pricier; compact enough for tight engine bays.
Charge Controllers and Inverters
The controller manages battery charging; the inverter converts DC to AC for the motor. Match voltage and current specs.
- Continuous current: exceed peak motor draw (e.g., 200 A for a 400 V system).
- Temperature rating: at least 80 °C above ambient to avoid overheating.
- Programmable parameters: tune torque curves, regenerative braking, and field‑weakening limits.
Wiring and Integration
Proper wiring is essential for safety and reliability. Follow these steps:
- Isolate high‑voltage circuits: use cables, connectors, and insulation rated for your voltage.
- Grounding: create a single grounding point to prevent stray currents; bonded chassis ground improves EMI shielding.
- Cable routing: keep power lines away from heat sources; protect with conduits or sleeving.
- Label everything: color‑code harnesses (red positive, black negative) for easy maintenance.
Design the harness modularly: separate high‑voltage and low‑voltage sections that can be disconnected during service. This reduces risk and simplifies troubleshooting.
Safety Considerations
Electrical safety is non‑negotiable. Implement these safeguards:
- High‑voltage disconnect accessible inside and outside the cabin; quick‑disconnect for emergencies.
- Battery Management System (BMS) with cell balancing, over‑charge/discharge, and temperature limits.
- Verify all connections with a multimeter before energizing. Continuity tests confirm no shorts.
- Comply with local regulations; some jurisdictions require inspection or certification for road‑legal EVs.
Add fire suppression foam in the battery compartment and wear insulated gloves during high‑voltage work. Document a risk assessment prior to starting.
Cost Estimation and Budgeting
Approximate cost breakdown for a mid‑range conversion:
- Vehicle purchase: $1,500–$3,000 (used chassis)
- Battery pack (40 kWh): $6,000–$9,000
- Motor & inverter kit: $2,500–$4,000
- Charge controller and BMS: $800–$1,200
- Wiring harnesses, connectors, tooling: $700–$1,500
- Labor (self‑built): 100–150 hrs at $25/hr = $2,500–$3,750
- Total estimated cost: $14,000–$22,450
Reduce costs by sourcing surplus parts from junkyards or online marketplaces. Repurposing electric scooter motors and controllers can lower both price and weight.
Testing & Certification
Validate every subsystem before road use:
- Run a BMS health check to ensure balanced cells within temperature limits.
- Perform a short range test (~20 mi) to confirm motor torque, regenerative braking, and energy consumption.
- Verify safety interlocks engage correctly; quick‑disconnect should cut power in <1 second.
- If required, schedule an inspection with a certified mechanic or automotive authority. Provide BMS software version and any safety certificates.
Document each test phase: record battery voltage, average current draw, and anomalies. This log aids troubleshooting and compliance verification.
Future‑Proofing the Vehicle
Design for upgrades:
- Reserve space for larger battery modules; a removable tray can accommodate a 60 kWh pack without major changes.
- Use modular motor mounts that accept higher power motors later. Quick‑release brackets allow swapping between single‑ and dual‑motor setups.
- Integrate a telematics unit supporting OTA updates for BMS and controller firmware.
- Install an auxiliary 12 V system via a DC‑DC converter to support infotainment, HVAC, or other aftermarket electronics.
Select components with widely supported protocols (CAN bus, LIN) to keep future software upgrades straightforward. This flexibility protects against rapid obsolescence.
Common Mistakes and How to Avoid Them
Skipping the BMS is a rookie error that can ruin your entire conversion.
- Ignore thermal management → overheating; add temperature sensors in battery pack and motor housing.
- Select battery chemistry without considering local charging infrastructure; choose a pack compatible with available chargers.
- Underestimate weight; perform a weight audit before finalizing layout and use lightweight brackets where possible.
- Fail to document the build; keep a detailed logbook or digital repository of schematics, part numbers, and test results.